SAVE UP TO 15% on STONEWARE AND ANTIQUE OIL JARS SPRING SALE NOW ON →
Frost Protection and Planting Advice
Our range of terracotta pots is frost resistant to -20° C with proper care.
The porosity of terracotta is what makes it such a good medium for container planting. Excess water is allowed to pass back through the pot away from the root system, preventing waterlogging. Air can also pass into the pot to cool the roots in Summer. However, incorrect or poor planting of the pot could compromise this balance, causing frost damage to the pot in Winter, the plant within may also suffer. When outside all year, a planted terracotta pot should be free draining, with airflow all around.
Before planting, please consider:
Position – In part, this will be dictated by the plant's needs, i.e., sunny or shady position. But it is much easier to “agree on position” when the pot is empty.
Compost – Use only good quality soil or compost and ensure it meets your plant's needs, e.g. ericaceous for Azaleas.
Drainage – This is the key to avoiding damage to both the pot and plant, either through waterlogging the plant root system in Summer or frost damage to both in Winter. Below are instructions for correct planting up to prevent this.
Ongoing Care and Maintenance
Check the drain periodically and clear any blockages. This is much easier to do if you have placed the pot on feet or risers.
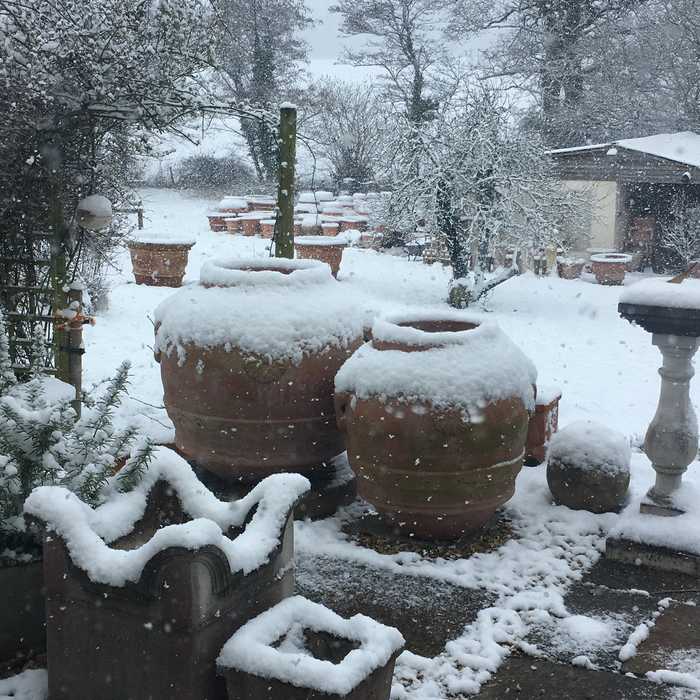
After a snowfall, always clear the snow out of the pot, off the pot and from around the base.
During extended periods of freezing and wet weather, you can take the added precaution of wrapping the pot with winter fleece or hessian. This will also give extra protection to the plant roots.
A Step by Step Guide
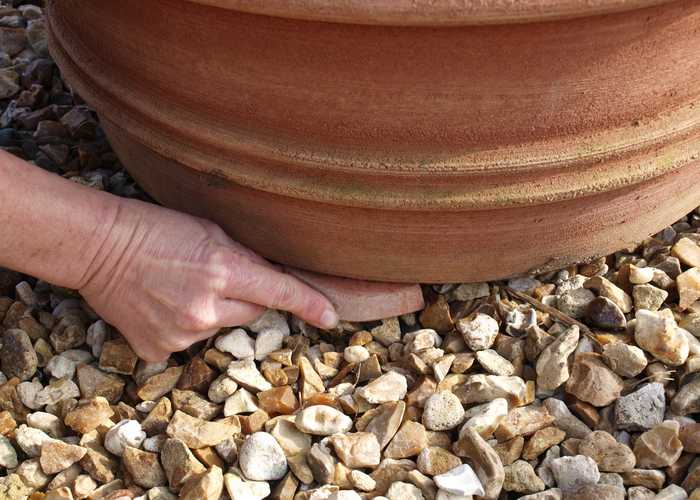
Position the pot and then raise it off the ground with pot feet. This helps keep the drain hole clear and allows airflow beneath the pot.
We advise the use of pot feet all year round. If the pot base is flat to the ground, the drain hole can block, preventing free draining. This will waterlog the plant root system causing damage to the plant, and with Winter frost, the waterlogged earth will freeze and expand, which could crack the pot regardless of its quality and frost resistance.
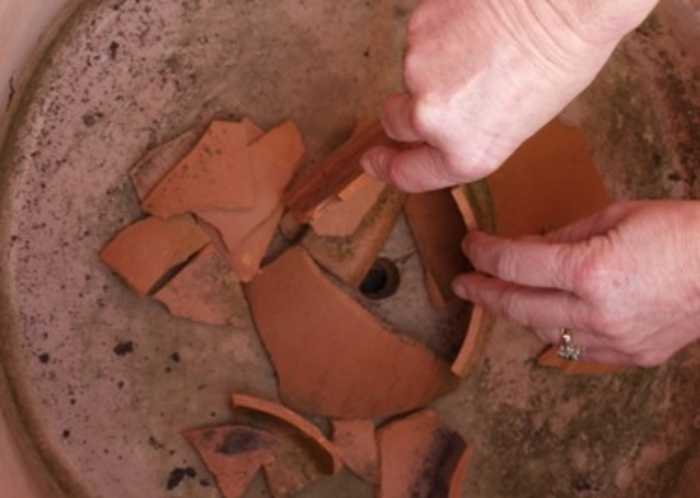
Now create a drainage layer. For this pot of medium size, we used crocks of broken pottery and some pea gravel. Avoid putting flat crocks directly over the drain hole. The pot we are planting is a Conca Classica 70cm x 57cm high, and we added crocks and gravel to a level of about 5cm (2 inches).
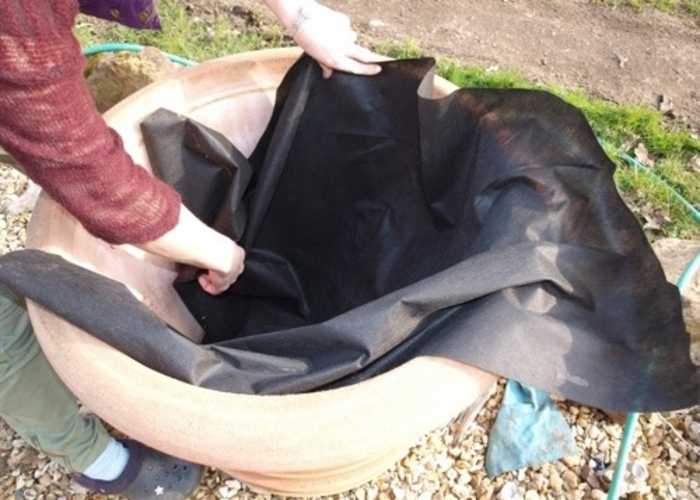
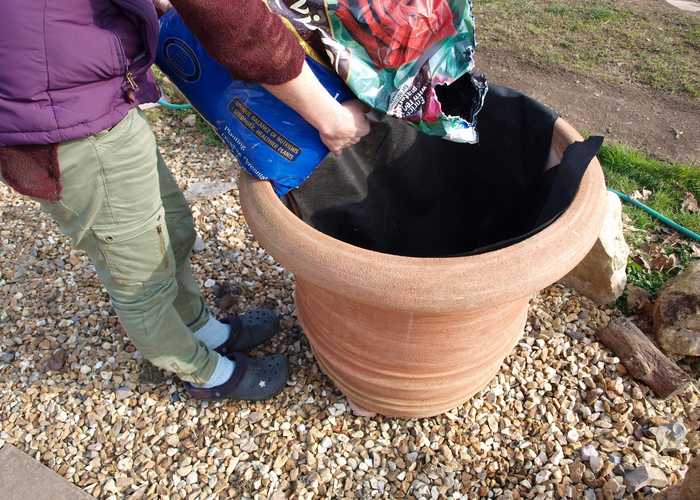
Now place permeable weed membrane on top of the crocks and up the sides of the pot to the rim.
This will stop the earth from being washed down to the drain hole during watering, blocking it. It also gives a little added protection to the plant roots in cold weather.
Place some compost in the pot and position your plant so the root ball is below the pot's rim. Fill in around the plant roots firming all the time until the compost is level with the top of the root ball.
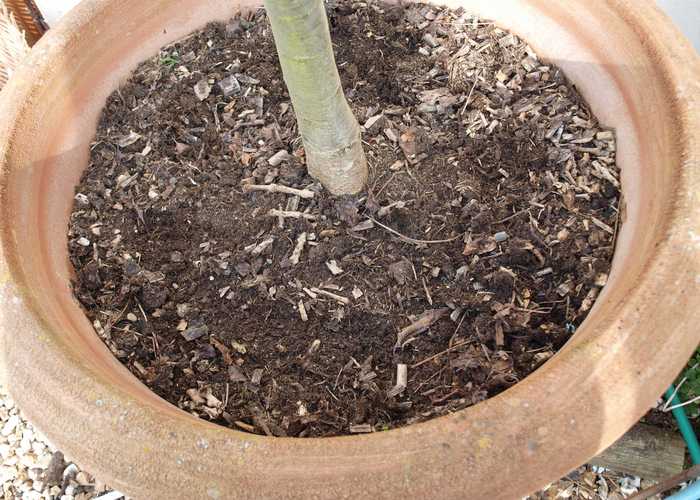
Cut the permeable weed membrane off level with the top of the compost and add a layer of either mulch or decorative chipping’s. As well as being a decorative finish, this slows down water evaporation in very hot weather.
It would be best if you ended up with a gap between the topping and the pot top of about 5cm (2 inches). This prevents water from spilling over the rim during watering.